How to Remove a Toilet Tank – Easy Steps with Pictures
Last Updated on July 27, 2023 by toilethaven
Is your toilet tank cracked, leaking, or just wobbling? It probably has seen better days. Or maybe you want to replace it with a better-looking/functioning one.
Removing and replacing a toilet tank is a simple task that should not take more than an hour. It is one of those tasks that you don’t need to pay a plumber to do for you.
This is how to remove a toilet tank:
- Turn off the water to the toilet.
- Flush the toilet.
- Dry the inside of the tank with a sponge.
- Disconnect the water supply line.
- Loosen tank bolts with a wrench.
- Lift off the tank.
There are two types of toilets. One-piece toilets and two-piece toilets. A toilet tank in a one-piece toilet cannot be removed. A two-piece toilet tank can be comfortably removed and reinstalled or replaced.
Toilet tanks are strategically positioned above the toilet bowl in order to enable flushing via the natural force of gravity.
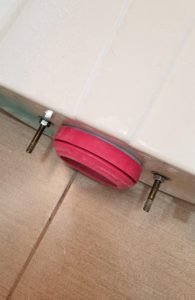
Most toilet tanks are connected to the toilet bowl using two brass bolts. Some toilets, however, like Kohler toilets, have a 3-bolt installation system.
The tank-to-bowl gasket (also called a spud washer) is placed around the flush valve to ensure no leakage between the tank and the bowl.
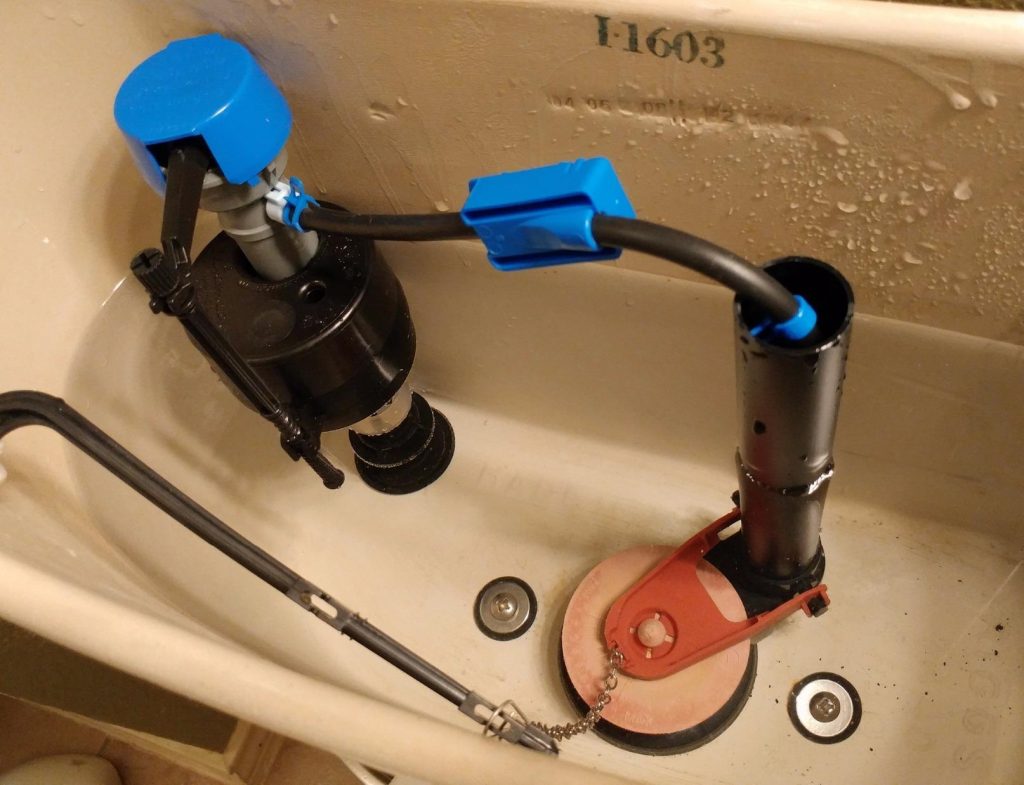
The flush valve is the opening at the bottom of the tank through which water enters the bowl from the tank. When the toilet is not flushed, the flush valve is sealed off by the toilet flapper.
Whenever you notice your toilet leaking between the tank and the bowl, 3 things might be the cause:
- A worn-out tank-to-bowl gasket
- A cracked flush valve
- Loose toilet tank bolts
- Worn-out tank bolts’ washers
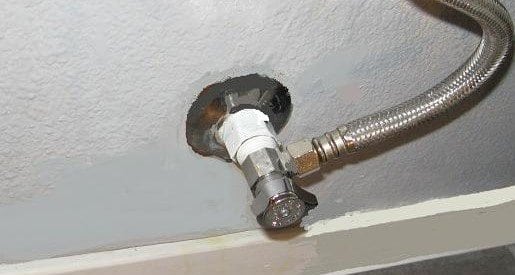
The toilet tank is also connected to the house water system by the water supply line from underneath it. If you notice water pooling around the base of your toilet 3 things could be the cause:
- The toilet is leaking between the tank and the bowl.
- A leaking water supply line.
- A leaking toilet wax ring.
Items Needed to Remove a Toilet Tank
- Adjustable wrench
- Flathead screwdriver
- Sponge
- Bucket
- Rags/towel
How to Remove a Toilet Tank
Once you have assembled all the materials needed, proceed to remove the toilet tank as follows:
1. How to Turn off The Water to a Toilet
- Turn off the toilet water shut-off valve. The toilet shut-off valve is located on the wall behind the toilet bowl.
- To turn off this valve, you will need to turn it clockwise all the way. Some shut-off valves are also designed in a way that instead of turning them, you pull them outwards.
- If you have a push/pull valve, pull it outwards all the way.
If, unfortunately, you do not have a toilet shut-off valve check out this post to learn of all the ways to turn off the water to a toilet.
2. Flush the Toilet
- Flush the toilet, holding the flushing lever down long enough to drain all the water from the tank. Some water will still be left at the bottom of the tank.
- Lift off the tank lid and place it away in a safe place. Remember, it is made of porcelain and could crack easily.
- Use a sponge to mop up all the water left in the tank until it is dry. This water is clean and not as risky to touch as the one already in the bowl.
- Disconnect the water supply line from the tank. Since this coupling is mainly made of plastic, always use your hand before attempting with a wrench. The wrench could easily deform it.
- While removing the supply line, have a small bucket to drain the water trapped in the line so as not to wet the floor.
3. How to Remove Toilet Tank Bolts
- Use your wrench to loosen the tank bolt nuts underneath the toilet bowl.
- If the bolts are swiveling, use the wrench to back the nut off while unscrewing the bolt with a long screwdriver inside the tank.
- Sometimes the bolts are corroded and will not just come off. In this case, use penetrating oil on the bolts and wait about 15 minutes.
- If, even after that, the bolts will just not come off, use a hacksaw blade to cut the nuts off, being careful not to cut the tank body. I say a hacksaw blade since a hacksaw will not fit in that tiny space.
- Once the two bolts are out, lift off your tank from the bowl.
And that is how to remove a toilet tank. Easy-peasy!
If you are removing the toilet tank to replace it with another one, make sure that you order one that is compatible with the toilet bowl. Better still, buy a toilet with the same model number as the one you have removed.
To know the model number of a toilet, check inside the toilet tank on the wall next to the wall. The model number will be molded or just printed there.
If you would like to replace several toilet tank parts, I have written a post reviewing the best toilet tank repair kits. Read it here.
After removing the toilet tank and doing all the necessary repairs (if any), you will need to install it. Here is how to install a toilet tank.
One question I often get asked in relation to toilet tanks is, “How do you paint behind the toilet tank”? If you have always wanted to paint the area behind the toilet tank, then this is a fantastic opportunity to do so.
There are many ways to paint the space behind the toilet, but I can guarantee you that this is the fastest and most effective. You will only need to cover the bowl with a plastic bag and get down to business. Talk about killing 2 birds with 1 stone.
Conclusion
Removing a toilet tank is, without a doubt, an easy task. To install a toilet tank, you just need to do the opposite of removing a toilet tank. It is always advisable to check the conditions of some of the items before installation. These items include the toilet flapper, the fill valve, and the tank-to-bowl gasket.