Toilet Leaking Between Tank and Bowl? Why & How to Fix It
Last Updated on October 4, 2023 by toilethaven
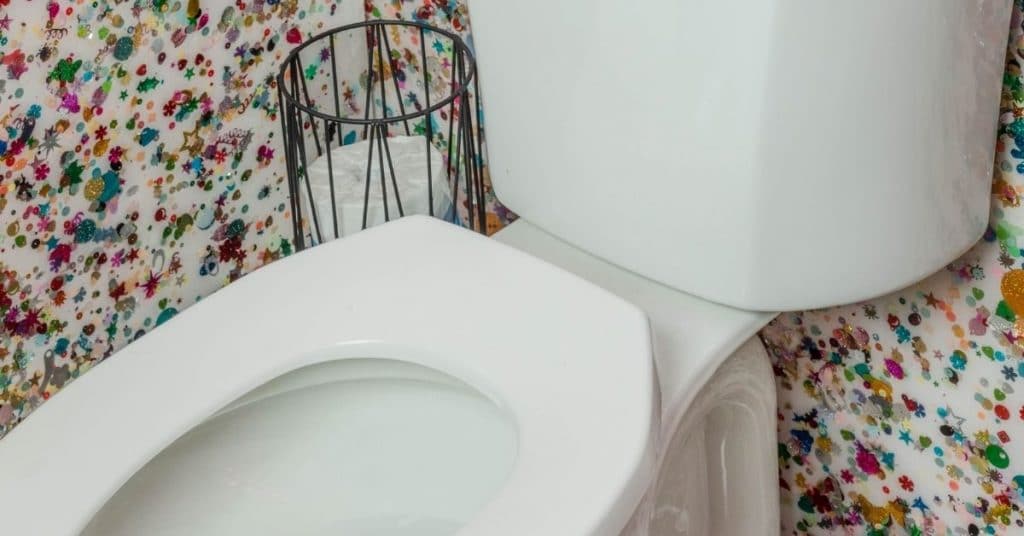
Why Does My Toilet Leak Between the Tank and the Bowl?
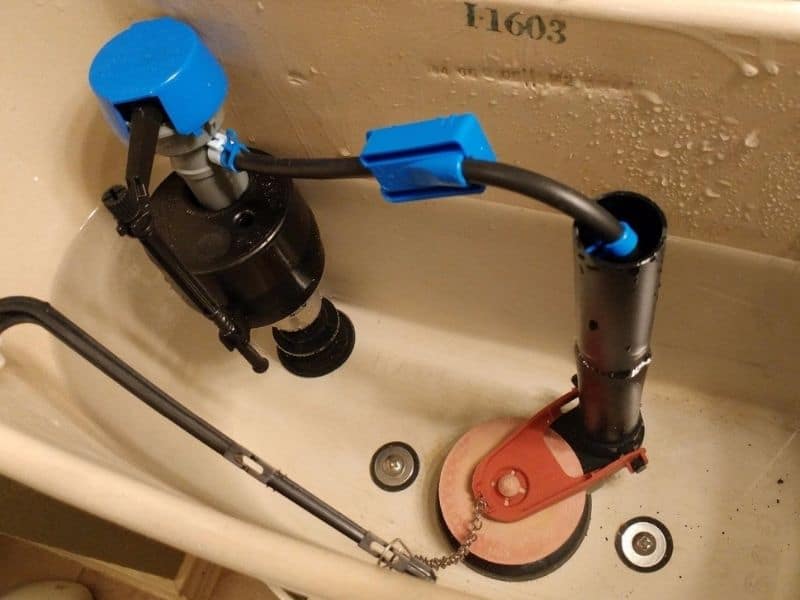
A toilet tank is installed at the top of the bowl to allow gravity to push the water from the tank to the bowl during flushing. 2 or 3 bolts are used to install the tank backed up by metal and rubber washers.
A toilet can either leak from the tank to the bowl or between the tank and the bowl. The former is usually caused by a bent or warped toilet flapper, which is easy to replace.
If your toilet leaks between the tank and the bowl, you have a bad tank-to-bowl gasket, loose toilet tank bolts, or worn toilet tank bolts washers. If the problem is the tank-to-bowl gasket, the toilet will only leak when flushed, but if it is the tank bolts or washers, it will leak throughout.
To fix a toilet that is leaking between the tank and the bowl, you will need to replace the tank-to-bowl gasket, the toilet tank bolts, or both. However, before buying the replacement parts, you should check if the tank bolts are loose and tighten them, then see if that helps.
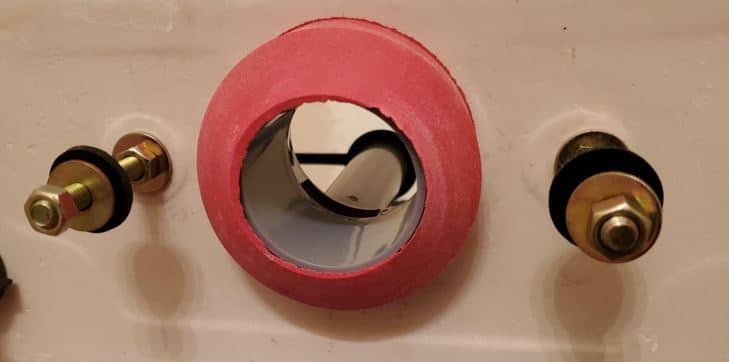
A toilet tank-to-bowl gasket is a rubber piece installed outside the flush valve where the tank sits on the bowl. It helps to create a watertight seal as the water exits the tank and enters the bowl.
A worn-out toilet tank to bowl gasket means the seal is broken, and you will notice water leaking between the tank and the bowl, usually when flushing the toilet.
Toilet tank bolts compress the tank to the bowl gasket between the tank and the bowl, which creates a tight seal. If the tank bolts are loose (indicated by a wiggling toilet tank), the gasket will not form a good seal, hence the leak.
Toilet tank bolts can also corrode, especially if you live in an area with hard water. Corroded tank bolts are bound to leak and will need to be replaced.
Rubber washers, which are used together with toilet tank bolts, can also wear out, allowing water to slowly seep from underneath the bolt heads and pool at the base of the toilet bowl.
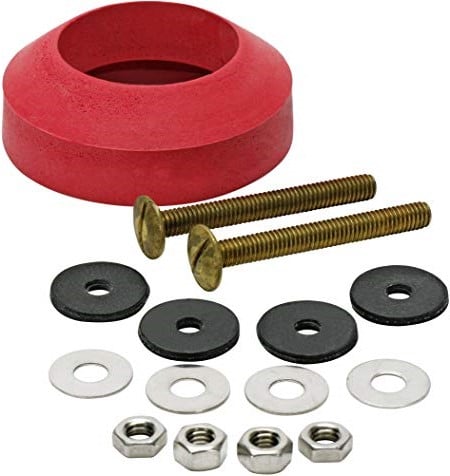
Although you can opt to replace only the faulty part (tank bolts or tank-to-bowl gasket), I recommend replacing both. These parts are inexpensive and are often sold as a complete kit.
You don’t need a replacement kit from the original toilet manufacturer. Third-party kits like those made by Korky and Fluidmaster are as good as the original ones.
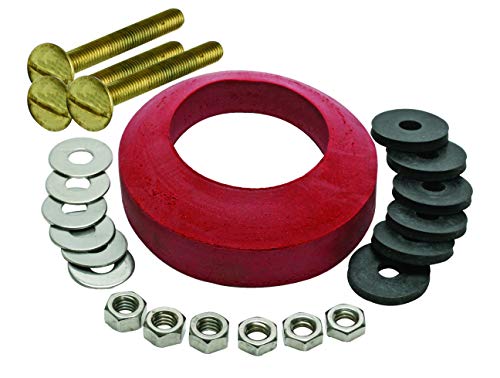
- TANK TO BOWL 3 BOLTS & GASKET KIT
How to Fix a Toilet Leaking Between Tank and Bowl
There are three ways to fix a toilet that is leaking between the tank and the bowl. These are:
- Tightening loose tank bolts
- Replacing toilet tank bowls
- Replacing toilet tank to bowl gasket
Let us look at them in more detail. I will combine the second and third points since, as I have just mentioned, I find it ideal for replacing the tank bolts and the tank-to-bowl gasket.
1. Tighten the Toilet Tank Bolts
- Start by grabbing the tank with both hands and attempt to rock it sideways.
- If it moves, the bolts are loose and do not compress the tank to the bowl gasket enough, hence the leak.
- Toilet tank bolts are tightened using nuts underneath both sides of the bowl.
- Use an adjustable wrench to tighten the two nuts alternatingly. It is important to tighten the nuts alternatingly to make sure that the bowl stays level at the top of the bowl.
- I should caution you against overtightening the bolts as that can crack the toilet’s porcelain. If that happens, you will need to replace the toilet.
If the toilet tank is not wiggling but leaking between the tank and the bowl, replace the tank with a bowl gasket and tank bolts.
Toilet tanks have different sizes of flush valves (2-4 inches) and, therefore, different sizes of tank-to-bowl gaskets. Take time to measure what size of tank to bowl gasket you need.
2. Replace the Tank with Bowl Gasket and Tank Bolts
This a long process since it involves removing the toilet tank, but it is surprisingly not difficult. A plumber will charge you a lot of money for it, so you are better off doing it yourself.
These are the steps to follow:
Drain the Toilet Tank
- Start by turning off the water to the toilet. There is a shut-off valve on the wall behind the toilet. Turn it clockwise or pull it out if it is a push/push valve.
- Flush the toilet and hold the lever down to drain as much water as possible from the tank.
- Lift off the toilet tank lid and place it away in a safe place where it can’t fall off and break.
- As you will notice, some water will still be left at the bottom of the tank. Soak up the water using a piece of cloth and squeeze it out into the bowl until the tank is completely dry.
Remove the Toilet Tank
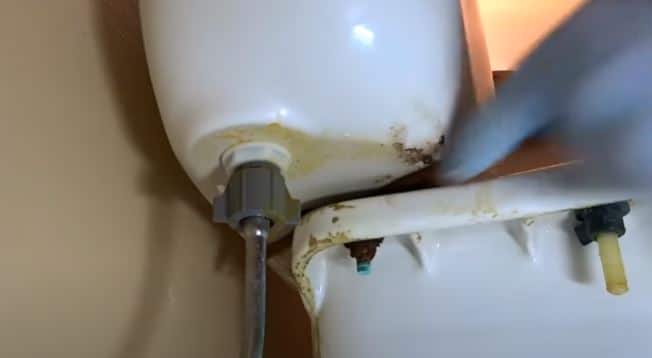
- Start by disconnecting the water supply hose from the tank. Always attempt to loosen the coupling with your bare hands before reaching out for a wrench. Have a small bowl nearby to drain the water already in the hose.
- Use your fingers to feel the two toilet tank bolt nuts underneath the bowl.
- Use a wrench to loosen the nuts and lift off the tank.
- If the bolts are spinning and won’t come off, use a long screwdriver to back them off from inside the tank and loosen the nut with your other hand using a wrench.
- In some instances, you will find that the bolts are badly corroded and, as such, will not loosen. Cut them off using a hacksaw blade. I insist on a hacksaw blade since the space is too small to fit a hacksaw.
- Lift off the toilet tank and place it on a flat surface. Avoid the temptation of putting it on top of the bowl lest you drop and break it.
Replace the Tank to Bowl Gasket and Tank Bolts
- While holding down the tank, slide it out to the bowl gasket and throw it away.
- Use a wrench and screwdriver to disconnect the tank bolts from the tank.
- Take the time to clean the tank, especially if there are mineral deposits where you need to install the new parts.
- Slide in the new tank bolts and washers. You need to be very careful with how you arrange the washers. Since there are metal and rubber washers, the rubber washers should always be in contact with the tank’s body. This prevents it from cracking should you overtighten the bolts.
- Push in washers on the bolts on the outside of the tank and screw in the nuts until hand tight. Tighten them together using a wrench and screwdriver.
- Slide the new tank into the bowl gasket with the bolts firmly in place. It is important to make sure that the gasket covers the entire flush valve nut (the big plastic nut).
Install the Toilet Tank
- Lift off the toilet tank and carefully direct the tank bolts through the two holes at the top of the bowl.
- Slide in a rubber washer followed by a metal washer, then screw in the nuts on the protruding ends of the bolt underneath the bowl.
- Use a wrench to tighten the two bolts alternatingly to make sure the tank stays level on top of the bowl.
- Do not overtighten the bolts, as you can easily crack the toilet.
Test the Toilet
- Make sure all the toilet tank parts are in order. If the flapper shifted during the repair, place it back in position.
- Connect the water supply hose back to the tank. You do not need a wrench for that. Hand tight is good.
- Open the toilet shut-off valve and let the tank fill with water.
- Observe for any leaks between the tank and the bowl for 5 minutes.
- Flush the toilet and again check for leaks between the tank and the bowl.
- If everything is good, place the toilet tank lid back on and clean your working area.
And that is how to fix a toilet that is leaking between the tank and the bowl.