How to Paint Your Toilet | 8-Steps
Last Updated on October 5, 2023 by toilethaven
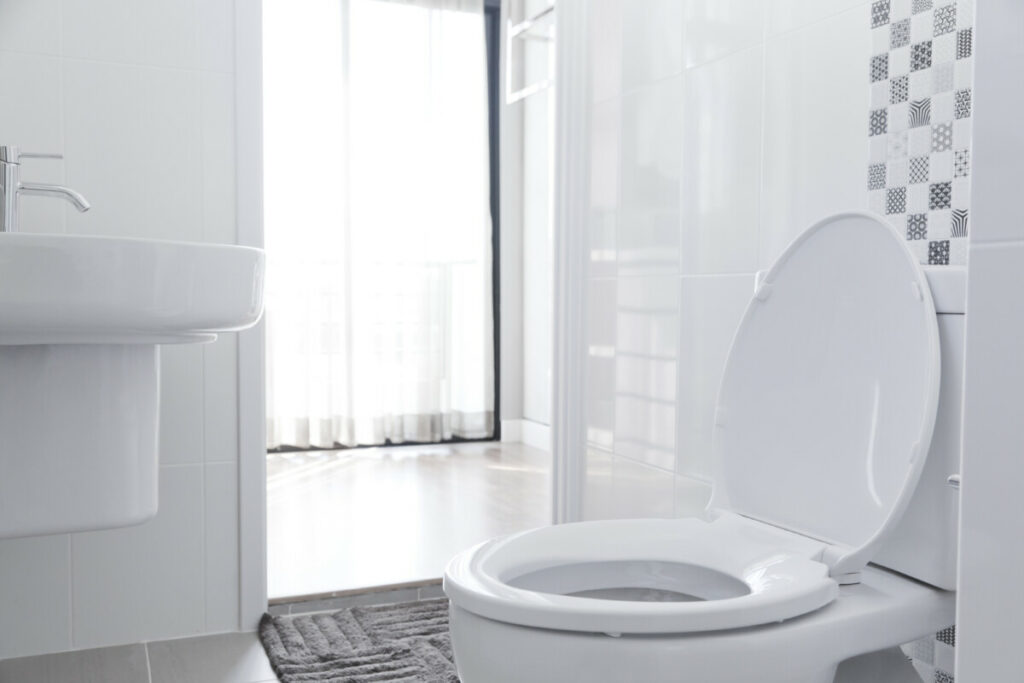
Sometimes, you just get tired of how your bathroom looks and want to change it. You could spend a lot of time and money replacing furniture or tiles, or you can change the color of one of the key fixtures of your bathroom—for example, the toilet.
Painting a toilet may seem like a daunting task. Most toilets come in plain white, and though you can buy toilets in other colors, there is no need to replace your old toilet if you want a colored one. Painting a toilet is much simpler than it may seem at first glance. You can be painting your toilet yourself like a pro if you just follow these 8 steps.
Step 1: Gather Your Tools and Choose a Paint Color
To paint your toilet, you’re going to need a few tools to get started:
- Strong Toilet Cleaner
- Toilet brush
- Five-gallon bucket
- 180-grit sandpaper
- Painters tape
- Drop cloth or other material to protect the floor
- Primer or basecoat
- Face mask and eye protection
- Epoxy paint or spray paint
- Epoxy topcoat (if using spray paint)
Choosing a Paint
When painting your toilet, it is important that you choose the right type of paint. Ordinary acrylic paint isn’t going to do the trick. Two types of paints will work for your toilet: epoxy paint and spray paint.
Epoxy paint is designed to hold up against moisture, which your toilet is going to be exposed to a lot of. Using epoxy paint will make the paint last longer and not be damaged by water.
However, you may not be able to find a color you like in epoxy paint. The options are often slim for that type of paint. If you really don’t want to use any of the available epoxy paint options, you can use spray paint instead. Spray paint has a wider variety of paint colors than epoxy paint. If you use spray paint, you will need to buy an epoxy topcoat to apply after the paint has dried. This will make the spray paint waterproof as well.
When you choose a paint color, think about what is going to look good in your bathroom. Consider the color scheme you already have or the one you plan to have if you are fully remodeling your bathroom. Choose a paint color that you think you would like your toilet to be. If you are buying by the bucket, you will only need one bucket for your toilet. If you are buying by the can, you may want at least two cans.
Step 2: Clean and Sanitize the Toilet
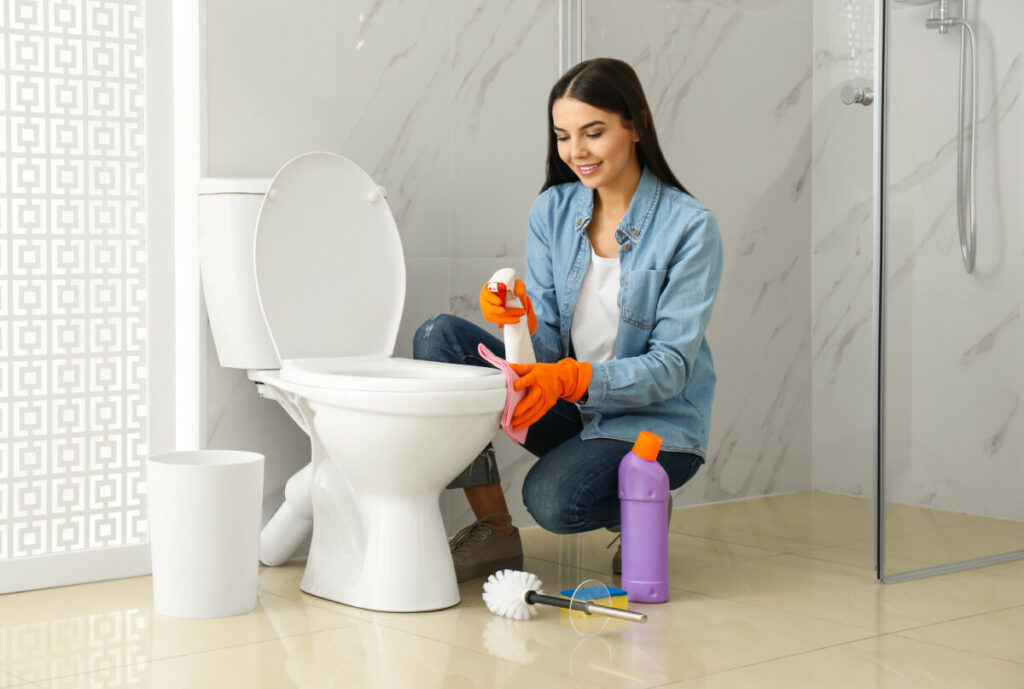
Before you paint your toilet, you’re going to need to make it cleaner than it has ever been. You need to put in a lot more elbow grease than you usually do and make sure to clean off every inch of it. This may mean investing in a stronger cleaner, taking the seat off to reach the small crevices, and letting some areas soak for a while.
Once the toilet is completely clean, you’re going to need to let it dry off for a couple of hours before you reach step 4. While you are waiting for it to dry, you can complete step 3.
Step 3: Drain the Toilet
Turning off the water and draining the toilet is necessary to properly paint the toilet bowl’s inside. To start, you’ll need to lay some towels down by the toilet in case some of the water splashes out and onto the floor; this will help protect the floor, especially if there is a large amount of water.
Next, you need to turn off the water. There is usually a shut-off valve behind the toilet along the wall. It is usually at the bottom of the water tank. Twist the valve clockwise to turn off the water supply.
After the water supply is turned off, carefully remove the lid to the tank and press down the flush lever. As you press it down, the tank will empty of water. If it empties completely, you can move on. If not, you’ll need to soak up the leftover water with a sponge and empty it into the toilet bowl.
Once the tank is completely empty of water, you need to fill up a five-gallon bucket with about three gallons of cold water. Pour the water into the toilet bowl. This will speed up the process of draining so the toilet will empty faster. The water may spill over the sides of the bowl, but that is what the towels are for.
The inside of the toilet will still be fairly wet. Soak up any leftover water. You may want to clean the inside of the bowl more thoroughly now that the water is gone. At this point, wait about two hours until the bowl and the rest of the toilet are completely dry.
Step 4: Sand the Surface
When the toilet is completely dry, you’ll need to sand off the surface of the toilet, both inside and out. This is the point of no return; if you start to sand your toilet, you’ll have to finish painting it.
Use 180-grit sandpaper and scrub at every surface that you’re going to paint until it is gritty. Don’t sand any areas that you don’t plan to paint. This will help the paint to stick properly. After sanding it, you’ll likely need to clean the toilet again to remove the porcelain dust.
Step 5: Apply the Primer
You can start applying the primer when the surface is clean, sanded, and completely dry. You’ll first want to lay down drop cloths, newspapers, or some other surface that you don’t mind getting paint on to protect the floor. If there are any areas that you aren’t going to paint, cover them with painter’s tape.
Adding a primer/basecoat will help the paint adhere to the toilet. Try using an acrylic or latex primer. Depending on the type you get, you can paint it on or spray it. If you spray the primer on, make sure to wear a face mask and eye protection so that it doesn’t get in your mouth, nose, or eyes.
Step 6: Paint
Once the primer has dried, you can start painting. Wear eye protection and a face mask if you are using spray paint. You will probably need to apply multiple coats. You can add coats until it looks right to you. Make sure that the previous coat is completely dry before adding another one.
Step 7: Apply Topcoat
If you use spray paint, wait for it to dry, then add the epoxy topcoat. Again, this will help protect the paint from moisture and flaking. Make sure that it completely covers the paint in an even layer.
Step 8: Let It Dry and then Refill It with Water
You will need to wait about 6 hours for the paint to completely dry and set in properly. After six hours, you can safely turn the water back on and fill the toilet bowl again. Just turn the shut-off valve counterclockwise to turn the water supply back on. Once you’ve done that, you can use your freshly painted toilet!