Step-by-step Instructions On How To Install Urinal
Last Updated on September 13, 2022 by Alex Cubias
As all men know, urinals are the height of luxury and convenience! Don’t you wish you could have one in your own home in order to stop getting in trouble for leaving the toilet seat up all the time? Now you can, and here’s how!
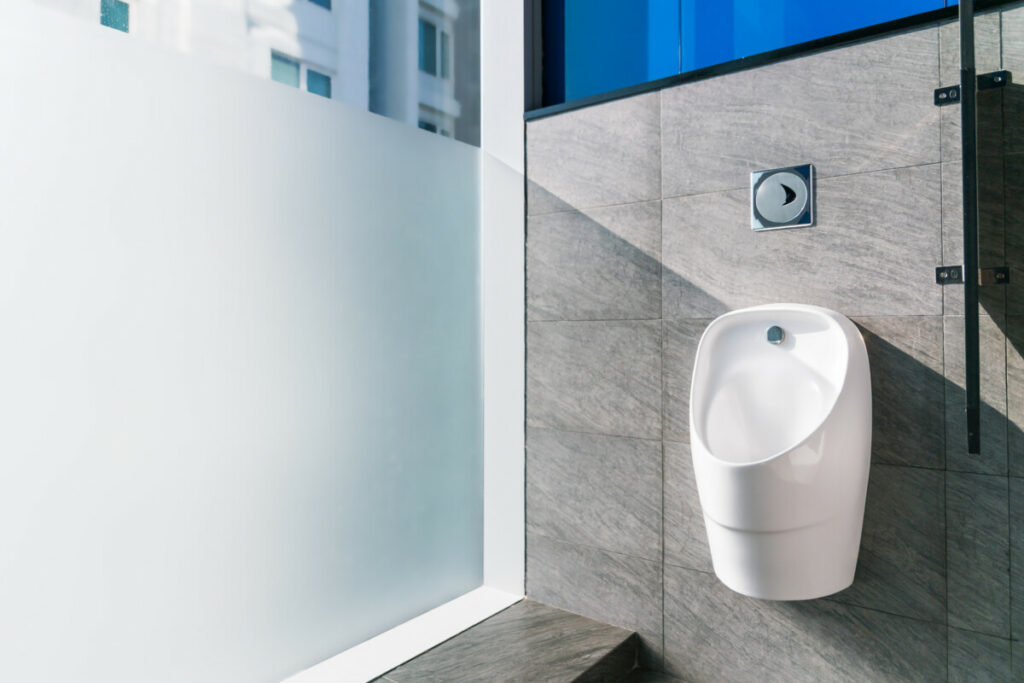
Step 1: Pick out the Urinal
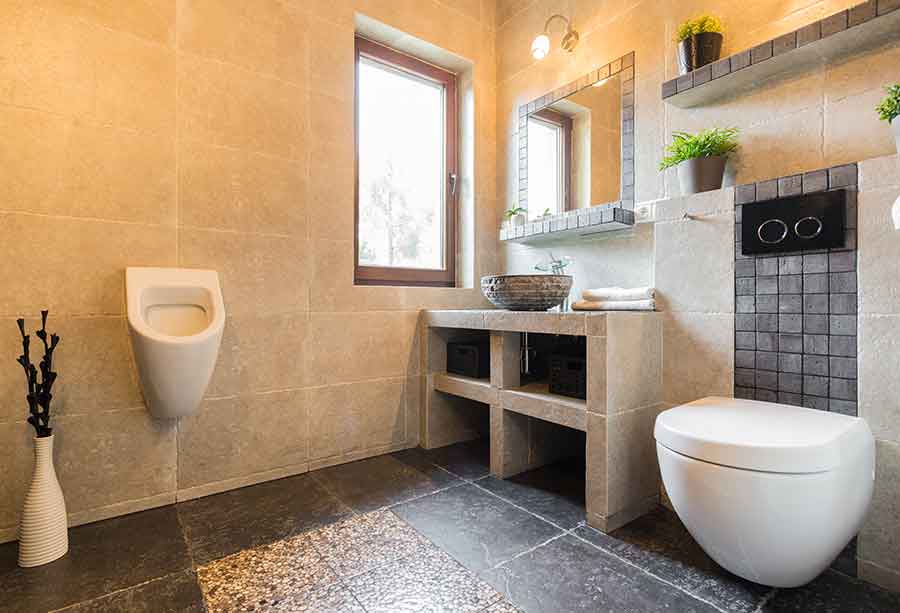
Picking the right model for your home is an important first step. Are you more worried about it not taking up space, how it looks, and how easy it is to clean? Are you wanting one with a bidet?
Once you’ve decided what kind of urinal you want, you can order one online, from a plumbing store, or from a more general hardware store like Home Depot or Lowe’s.
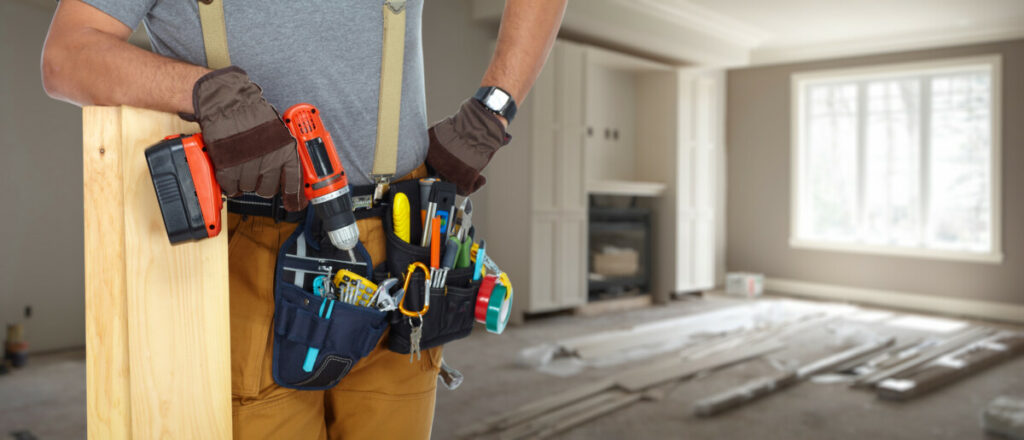
Step 2: Aquire the Necessary Tools
Urinals are a great option because of how easy they are to install with hand tools. The materials you will require are:
- 1- inch plywood
- Tape measure
- Level
- Carpenter’s level
- Pencils
- Nails
- Hammer (or nail gun)
- Clean rag
- PVC cement
- Drill bits
- Electric drill
- Drywall saw
Any of these you don’t already own should be readily available at any hardware store. Make sure to wear a pair of thick, sturdy work gloves when getting the plywood to avoid getting splinters. Those are annoying, and it’s harder to get work done when your hands hurt.
Step 3: Install Structural Support
If the drywall is already in place where you intend to hang your urinal, it will need to be removed in order for you to place the plywood so that the urinal can have sufficient structural support. You’ll want to nail it to the wall studs in order for it to be as secure as possible. You will then want to install your drywall.
Step 4: Add the Water Line
The height for placing a urinal is typically 24 inches, measured from the floor to the rim of the urinal. This is where you’ll use the stencil to determine where the water supply, drain, and wall hangers will all go and mark them with your pencil.
Use your drill to drill 1/4 inch pilot holes for the mounting screws, then use your drywall saw to remove just enough drywall to enable you to attach the wastewater and water supply lines in the correct positions. Before you attach the lines, include a shut-off valve so that you can turn off the water supply as needed for maintenance.
Double-check the wastewater and water supply line locations with the stencil.
Step 5: Mount the Urinal Wall Hangers
Using the pilot holes, you drilled earlier and the provided screws and nails, mount the urinal’s wall hangers. Make sure that they are firmly connected to the wooden support panel you added back in the third step. You can also use a carpenter level to ensure that the wall mounts are properly aligned with each other.
Step 6: Install the Drain
You’ll want to place the drain in the urinal before you mount it to the wall.
There should be a ring of metal at the bottom of the urinal. There should also be a metal drain cover. You’ll want to place some caulk around the edges of this metal piece and then slide it into the ring at the bottom of the urinal. Press down on it tightly to ensure that it is properly sealed.
If you want to be extra certain that it is tight enough, then you will want to add some washers to the underside of the metal drain cover piece and secure it with a couple of nuts on the other side.
Step 7: Install the Waste Outlet
Take your PVC cement and use it to attach the supplied outlet connection to the waste pipe you were adjusting earlier. Use the pencil marks from earlier to ensure that you place the connected waste outlet in the right place and in the right position.
If the pencil marks that you made were on part of the drywall that had to be removed, then tape up your stencil and use that to double-check the placement instead.
Step 8: Mount the Urinal
Hoist the urinal up and hold it in place just above the wall hangers that you installed in the fifth step. Make sure that you have the opening of the urinal properly lined up with the waste outlet. (Cleaning up a mess from getting that part wrong would literally stink).
Gently lower the urinal onto the wall hangers and carefully tighten the attachment screws to secure the urinal to the wall. The reason you need to be so careful is that if you tighten it too much or too quickly, you risk cracking the porcelain.
Porcelain cracks fairly easily, and it would be beyond annoying to have to get another urinal and start all over again. Although maybe the second time around it would be better to call in a professional plumber if you’re worried about making the same mistake.
There should be a supplied inlet spud in between the flush valve and the urinal. If you line it up properly, it should just slip into place and leave you with a connected flush valve.
Tighten the supplied rubber gaskets on the flush valve to prevent water from leaking out of your flush valve.
Step 9: Test for Drips and Leaks
Now that your urinal is mounted, you need to connect the water supply to the flush valve.
Once the water supply and flush valve are connected, you’ll want to flush it a few times to check it for drips and leaks. If you find any, check that everything is sufficiently tightened or check to see if anywhere is cracked.
If you find yourself free of drips and leaks then congratulations! You’ve just successfully installed your own personal urinal!
Step 10: Take Your New Urinal for a Test Drive
The only thing left to do now is to celebrate your accomplishment by using your brand new standing throne and admiring your handiwork.