How to Replace a Toilet: 4 Steps With Pictures
Last Updated on July 27, 2023 by toilethaven
Toilets don’t last forever. Long perhaps, but not forever. Understanding how to replace a toilet on your own is a very important skill that can save you enough money to buy a budget toilet even.
Have you remodeled your bathroom, and your old toilet does not complement your new bathroom design? You may have to replace the toilet. It could also be that your toilet is broken or cracked, leaking, or even rocking every now and then.
It’s not difficult to replace a toilet as long as you have all the tools and materials needed to do the job. We have compiled a step-by-step guide detailing how to replace a toilet, even if you have no plumbing experience. By learning how to replace a toilet, you will also learn the following:
- How to remove a toilet.
- How to install a toilet.
Replacing a toilet involves the following 4 steps
- Disconnecting water flow to the toilet
- Removing the old toilet
- Installing the new toilet
- Testing the new toilet
Tools Needed
- An adjustable wrench
- Putty knife
- Hacksaw
- Measuring tape
- Caulk gun (optional)
- Screwdriver (long flat head)
Materials Needed
- New toilet
- Toilet bolts and washers
- Caulk (optional)
- Toilet shims (optional)
- A large sponge
Step 1: Disconnecting the Water
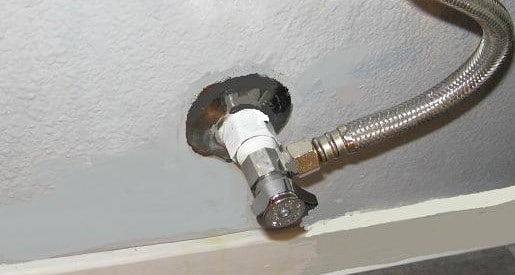
- Turn off the water supply valve located at the back of the toilet.
- Flush down the water in the tank, holding the flush lever down until all the water is emptied from the toilet tank.
- Remove the toilet tank lid and put it away in a safe place.
- Use your sponge to mop out all the water until the tanks and the bowl are dry.
Step 2: How To Remove a Toilet
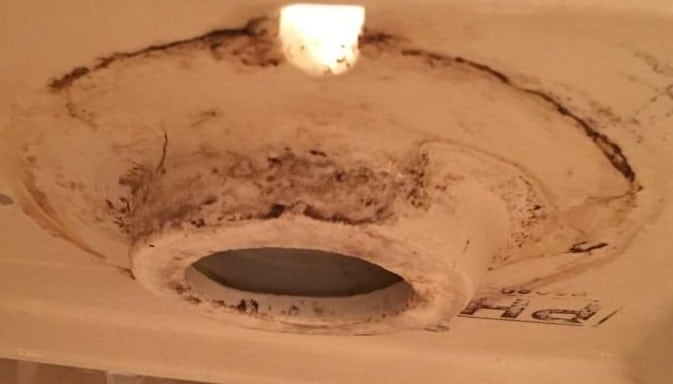
While removing the old toilet, there are two ways to go about it. You can decide to remove both the toilet tank and bowl together, or you can remove one at a time. The danger of removing them together is that it’s easy for the tank to crack where it’s joined to the bowl. Though it takes time, removing them one at a time is the best option. This is assuming you have a two-piece toilet.
If you have a one-piece toilet (bowl and tank built as one body), you will need to do it all in one go. Please get an extra pair of hands.
- Use the wrench to disconnect the water supply line. Check out its condition. It’s always a good idea to replace it during such a repair.
- Knock off the caps on the nuts of the toilet bolts.
- Use your wrench again to remove the nuts. If the nuts are rusted and can’t come out, use your hacksaw to cut them off.
- Check the base of the toilet. If a caulk was used to install the toilet, use a knife to cut the caulk seal.
- Rock the toilet about to break the seal between it and the toilet flange. When the toilet is free, lift it off. Place it further away.
- Remove the wax ring and throw it away. A used wax ring cannot be reused. Read more on wax rings here.
- Remove the bolts from the toilet flange slots.
- Stuff a towel or rag in the drain pipe to prevent sewer gases from coming up into the house and also not to drop anything.
- Use your putty knife to scrap off old wax from the toilet flange. Wipe and inspect the flange for damages.
- Make any toilet flange repairs needed. Toilet flange repair kits are available. If the toilet flange is broken or badly damaged, it will need to be replaced.
Step 3: How To Install a Toilet
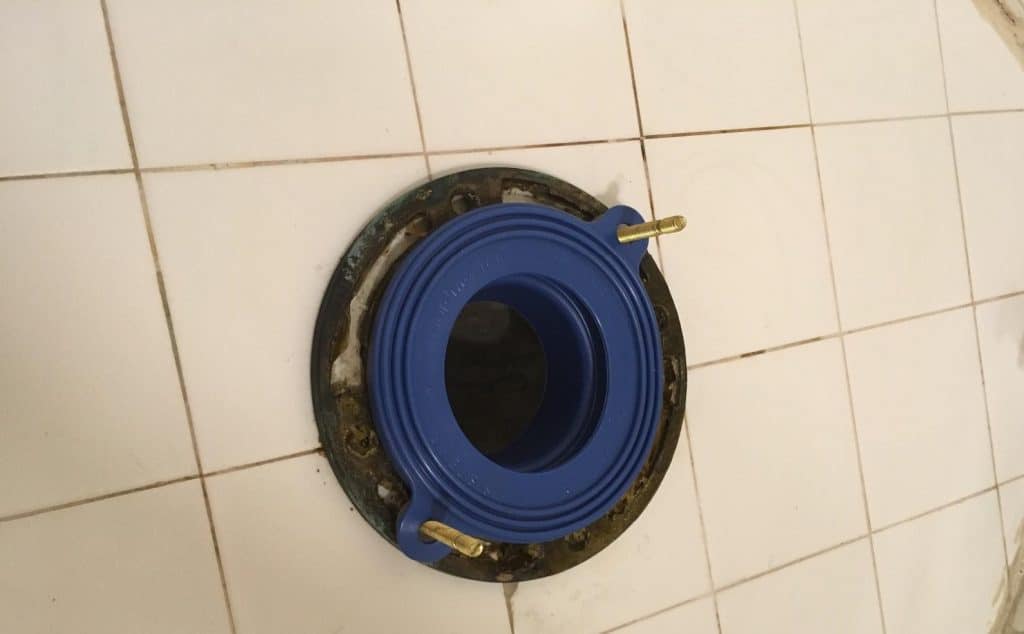
- Install the new flange bolts on their slots. If you have replaced the toilet flange, be careful with the orientation of the bolts. Always assume that your flange is a clock with its back side at 12 o’clock. Proceed to have the bolts at the 3 and 9 o’clock positions.
- Place the toilet bowl sideways on some newspapers and put the wax ring around the toilet bowl outlet. For easy application, leave the wax ring on a warm surface or pass it through warm water to soften it. You only have one shot at it, so be gentle not to deform it.
- If you’re installing the bowl and tank combined, have the assembly on its side as you slide in the wax ring.
- You may also decide to use a rubber seal instead of a wax ring. In that case, just place the rubber seal on the flange and mount the toilet on top.
- Remove the rag/towel from the drain pipe. This is very important.
- Hold the toilet bowl directly above the flange and align the bolts to the holes on each side of the bottom of the toilet.
- Lower it down slowly until it sits. Press firmly on the bowl to ensure the toilet base is solid on the floor.
- If your old toilet is rocking, it is advisable to use toilet shims to stabilize the new one.
- First, install the toilet without the wax ring and put shims underneath the base of the toilet until the toilet is no longer rocking.
- Remove the toilet, put on the wax ring, and install it again.
- Use a knife to cut the protruding ends of the toilet shims
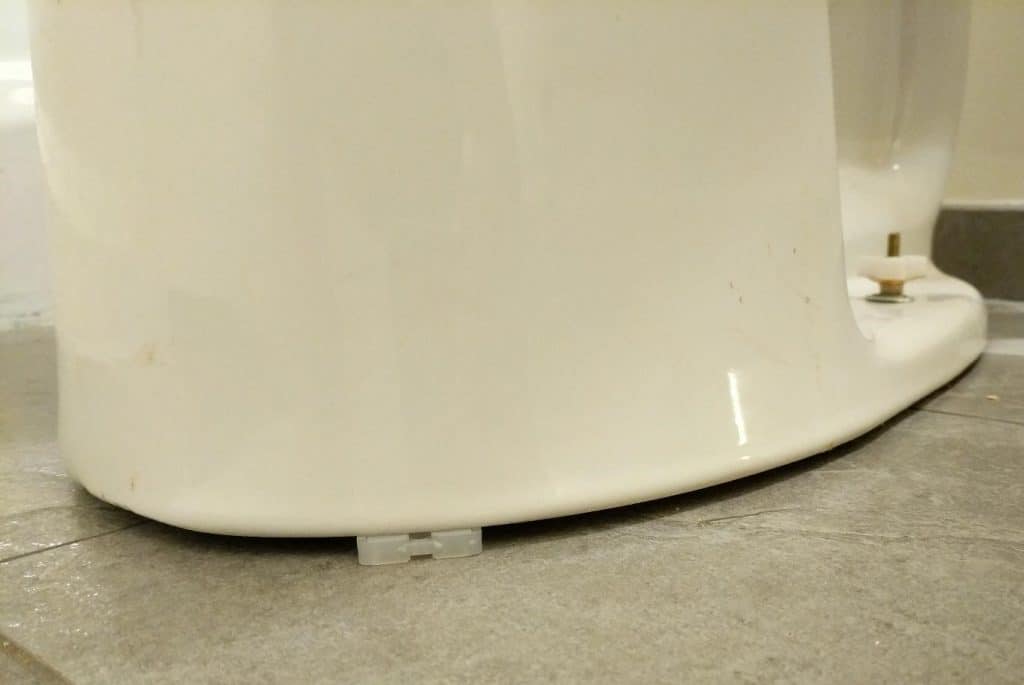
- Put the washers and nuts on each bolt.
- Use the wrench to tighten them alternatingly to keep the pressure evenly distributed.
- Be careful not to tighten too much, as this can crack the toilet bowl.
- Cap the nuts off, and if the bolt is too long above the bolt, cut them off with a hacksaw.
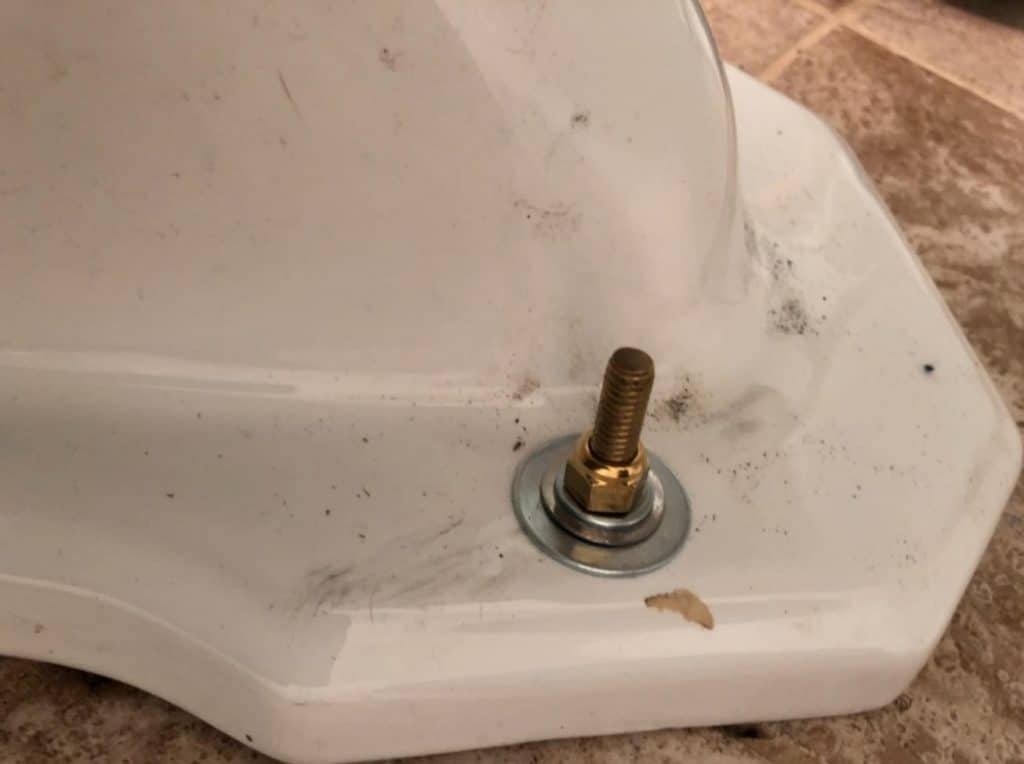
- Installing the toilet tank: Normally, the valve assembly comes preinstalled in the tank. If not, you will need to do it yourself.
- Turn the tank upside-down and slot in the bolts and washers that will hold it onto the bowl.
- Position the rubber gasket to the base of the tank. Now place the tank on top of the bowl and feed the bolts through the holes in the bowl.
- Use the washers and nuts and hand tighten. Now use the wrench to tighten the nuts alternatingly. Hold the bolt inside the tank using a long screwdriver. Don’t overtighten, as this can crack your tank.
- Now use your caulk gun to spread the caulk around the base of the toilet bowl. Most people, especially those with wooden floors, skip the caulk as it is easy to notice any leaks way before there is any wood rot.
- Install the toilet seat.
Step 4: Testing the New Toilet
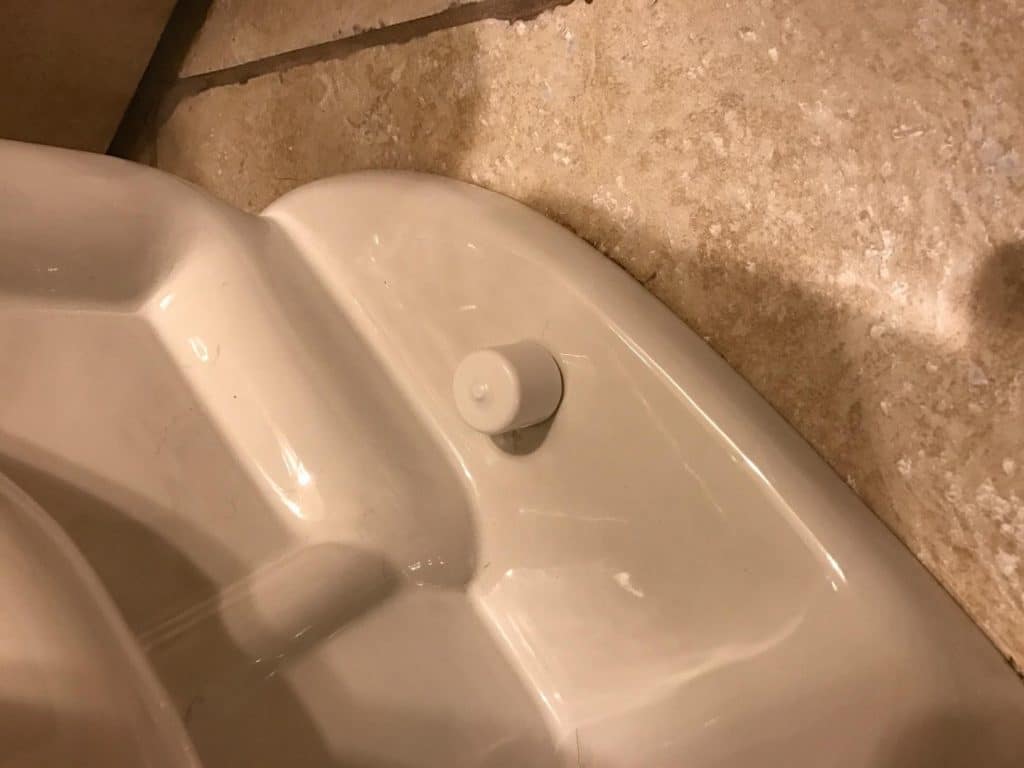
- Connect the new or old water supply line.
- Open the water inlet valve slowly and watch the water fill in the tank.
- Look out for any leaks. If the water supply line coupling is leaking, tighten some more. If the gasket in the tank is leaking, remove it and seat it properly. Place the lid on top of the tank once you are satisfied there are no leaks in the tank.
- Flush the toilet a few times and watch the base of the toilet for any leaks.
- If you find no leaks, then you now know how to replace a toilet. Congratulations!
- If, however, you find any leaks, there is a possibility the wax ring will get deformed and is not sealing.
- You will be required to repeat the process, or if it’s too much trouble for you, call a plumber to replace the toilet.
Toilet Dimensions
Prior to purchasing a new toilet, it is extremely important that you take the toilet dimensions and compare them with the bathroom’s dimensions. Most importantly, know your toilet’s rough-in. The rough-in is the measurement from the rear wall of the bathroom to the toilet bolts or the center of the drain pipe.
The toilet bolts are the bolts on each side of the toilet’s base, which anchor the toilet to the flooring through the toilet flange. The toilet flange on the other side is a pipe fitting that links the bottom of the toilet to the drain pipe.
While measuring the rough-in distance, be careful to measure from the wall, not the baseboard. At this point, knowing the toilet size you want to install is important. You will need to compare round vs. elongated toilets based on your available space.
If you install an elongated toilet bowl, ensure you have enough space to go with it. Elongated toilets offer more comfort compared to round toilets. Round toilets take less space than elongated toilets.
Conclusion
And that is how to replace a toilet. Replacing a toilet is evidently an easy job. You just need to work carefully to avoid injury. Bathroom floors can be slippery; therefore, wear appropriate shoes. Toilets are also made of ceramic which means they can break easily.
Where need be, please let someone come to help you. Always use smart lifting techniques. Avoid putting strain on your back and rather utilize your leg muscles while lifting. Other than that replacing a toilet should be fun!
FAQs
1. What is the standard rough-in measurement?
Most toilets have a standard rough-in of 12 inches, but some have a 10-inch or a 14-inch rough-in. A toilet with a 12-inch rough-in can’t be replaced by a 10-inch rough-in toilet, but a 14-inch rough-in toilet can be installed in place of a 12-inch rough-in toilet.
2. Can I install an elongated toilet if the previous one was a round toilet?
Yes. This can be done. An elongated toilet can be replaced with a round toilet as long as the rough-in measurement is checked and fits.
3. How long does it take to replace a toilet?
At least an hour. This will, however, depend on the level of experience in home repairs and the toilet’s overall condition. Some people need to stop to buy something, or some toilets need other concurrent repairs with toilet replacement.
4. How much is it to replace a toilet?
Bringing a plumber to replace your toilet will cost you between $120 and $220, depending on your location and the nature of the job. Purchasing a new toilet will, however, set you back between $99 and $499 on average.
5. How do I choose a good toilet?
If you want to replace a toilet, you will need to choose a good toilet as a replacement. A good toilet combines different factors, such as cost, water efficiency, and comfort.
6. How do I measure the size of toilet seats?
Using a measuring tape:
Measure the length of the toilet bowl. Take measurements from the center of the two bowl bolts to the front of the bowl and write them down. This is the most important measurement.
An elongated toilet seat has an average length of 18.5 inches, while a round toilet has an average length of 16.5 inches.
Measure the distance between the two bolt holes and write it down. This is called the bolt spread. It is 5.5 inches on average.
Measure the width of the toilet bowl around the center of the bowl and write it down. This is normally between 14 and 14.5 inches.
You can use these measurements while purchasing a toilet seat.